Introducing Framecast AI, an intuitive SaaS platform powered by Astria that generates Professional AI Headshots in minutes. This product is built to give developers & makers a great starting point into building AI applications that can generate real revenue. This is your launch pad - modify it, and make it your own to build a popular AI SaaS app.
Getting Started
This section will guide you through the initial setup and installation process.
1. Installing dependencies
Once you purchase the code, move into the folder named framecast-ai and install the necessary dependencies, make sure that you have node/npm or yarn installed in your system:
cd "source code"For npm:
npm install --legacy-peer-depsFor yarn:
yarn --legacy-peer-deps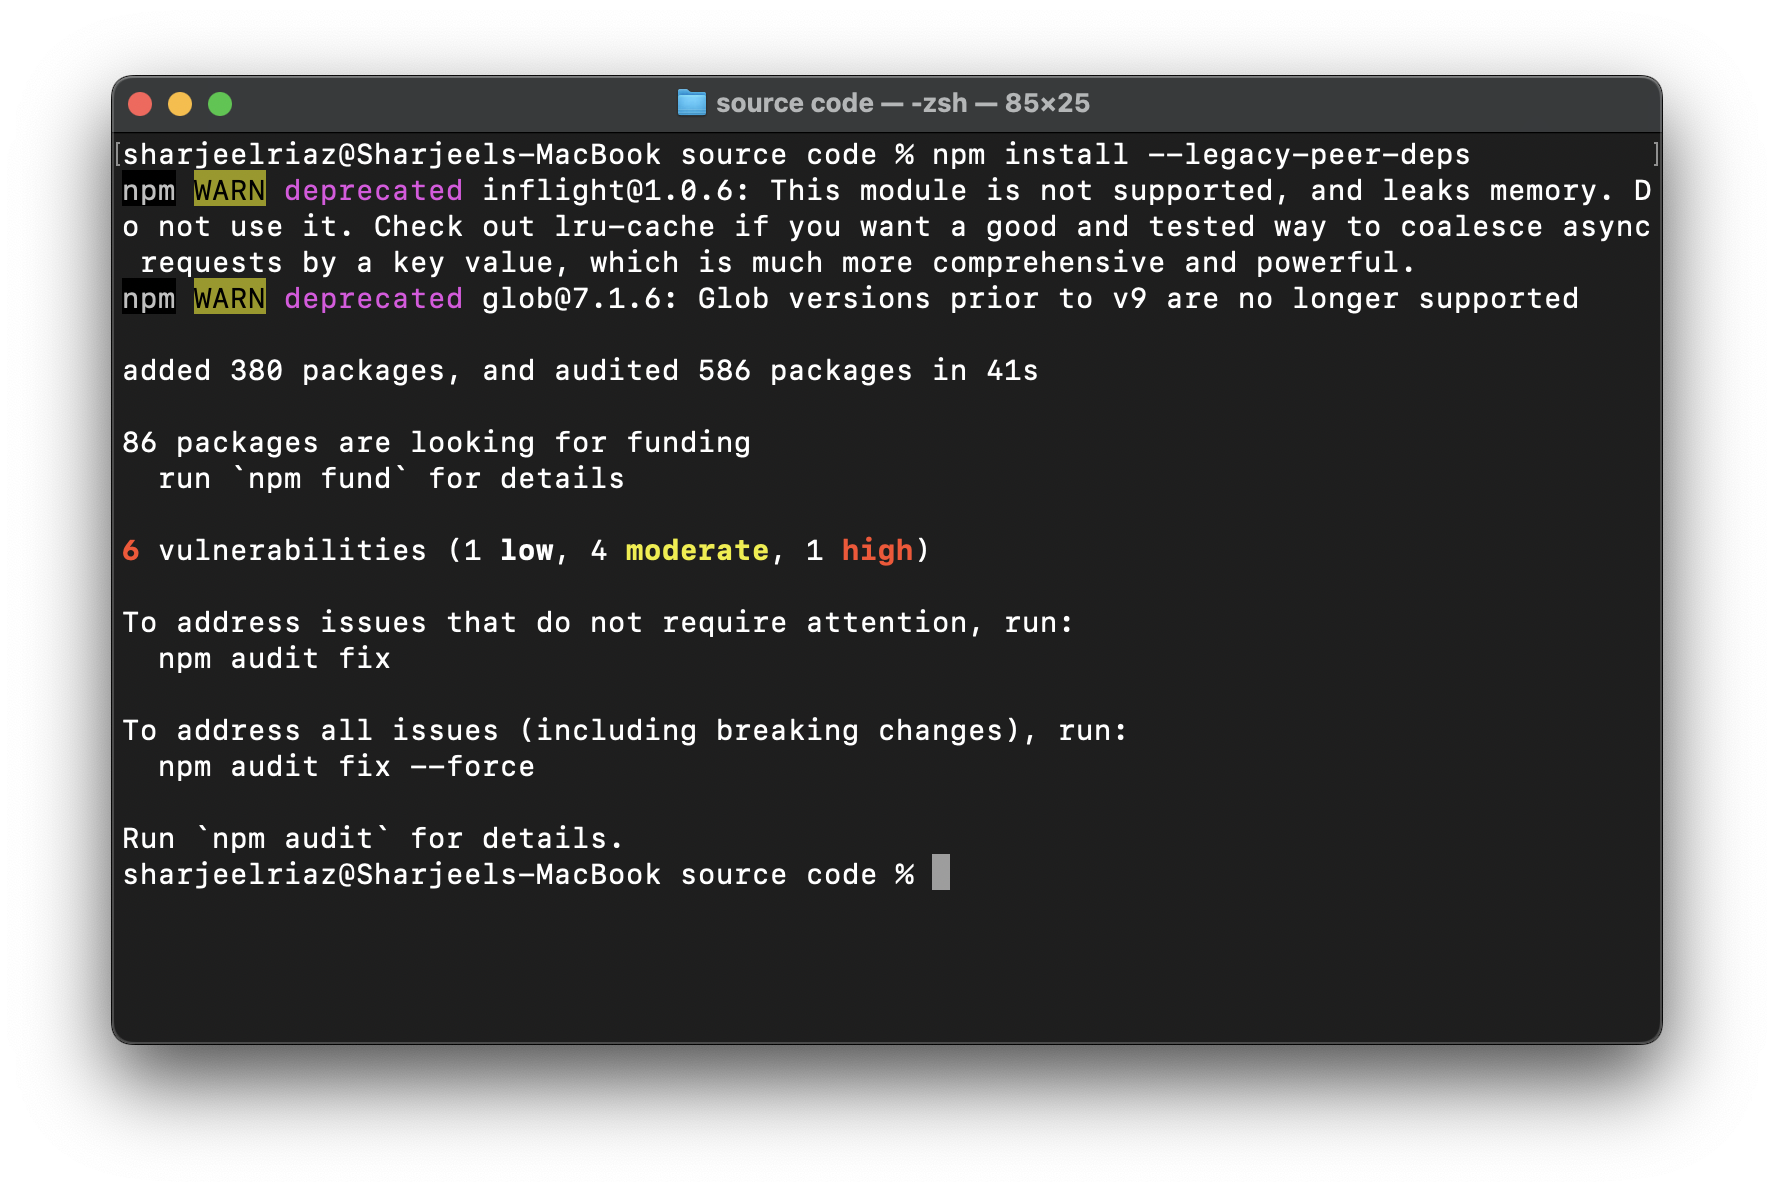
2. Create an .env file
Use the following titles for your file:
# LEAP VARS (AI service)
# Get API key - https://docs.tryleap.ai/authentication
LEAP_API_KEY=

## Generate a random secret
LEAP_WEBHOOK_SECRET=
APP_WEBHOOK_SECRET=

# Get Leap Workflow ID - https://docs.workflows.tryleap.ai/reference/Workflow%20Runs/run_workflow
LEAP_WORKFLOW_ID=

# For local development, you can use the following values:
NEXT_PUBLIC_SUPABASE_URL=
NEXT_PUBLIC_SUPABASE_ANON_KEY=
SUPABASE_SERVICE_ROLE_KEY=
SUPABASE_ANON_KEY=
SUPABASE_URL=

# RESEND VARS (Email service)
RESEND_API_KEY=

# STRIPE VARS (Payment service)
STRIPE_SECRET_KEY=
STRIPE_WEBHOOK_SECRET=
STRIPE_PRICE_ID_ONE_CREDIT=
STRIPE_PRICE_ID_THREE_CREDITS=
STRIPE_PRICE_ID_FIVE_CREDITS=
NEXT_PUBLIC_STRIPE_IS_ENABLED=true

# set to true to enable Stripe payments
# DEPLOYMENT (Leave them empty if you're not deploying)
DEPLOYMENT_PROVIDER= # vercel, replit or any of your choice
VERCEL_URL=
REPLIT_URL=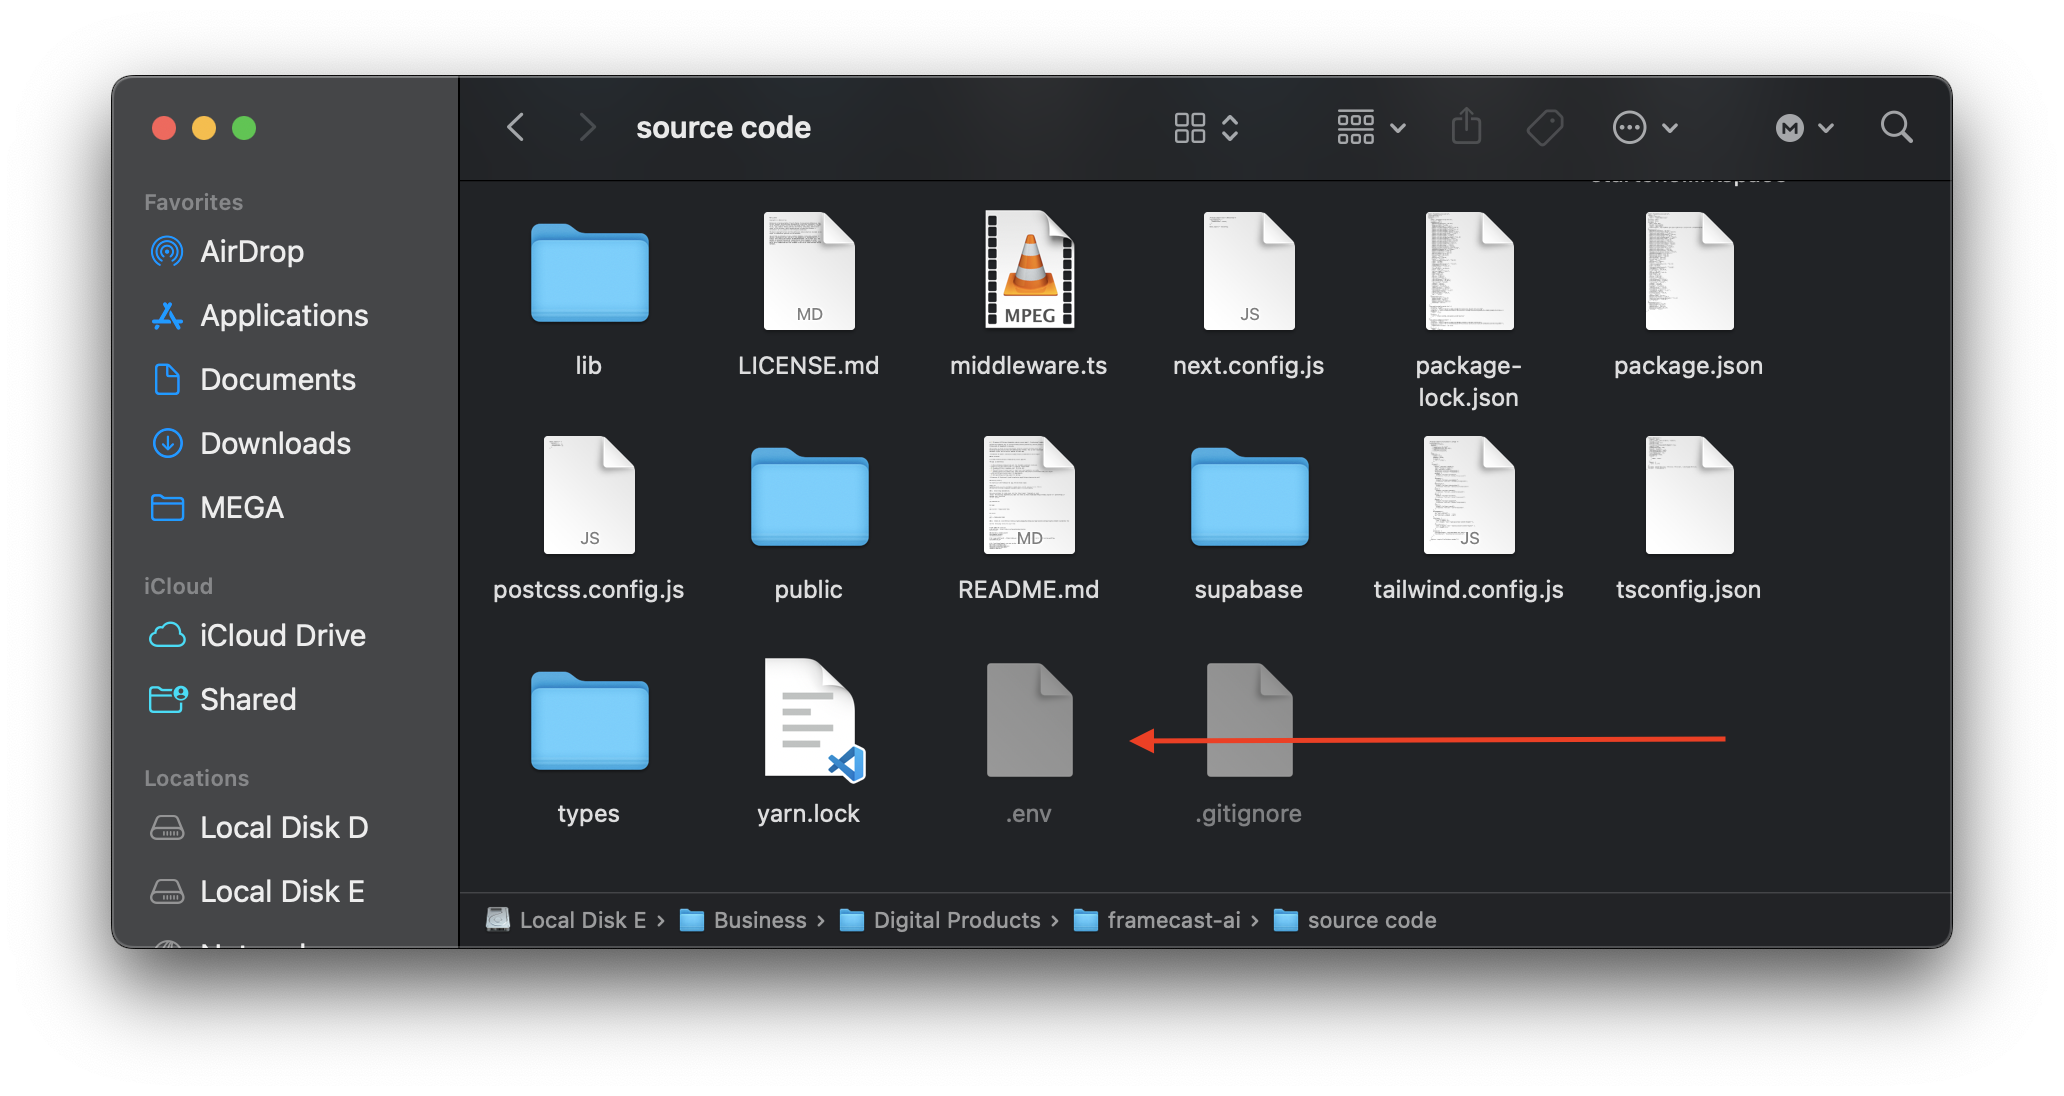
3. Create an Astria account
In your.envfile:
- Fill in
your_api_keywith your Astria API key - Fill in
your-webhook-secretwith any arbitrary URL friendly string eg.shadf892yr398hq23h
4. Create a Resend account
- Fill in
your-resend-api-keywith your Resend API Key if you wish to use Resend to email users when their model has finished training.
5. Configure Stripe to bill users on a credit basis
The current setup is for a credit based system. 1 credit = 1 model train.
To enable Stripe billing, you will need to fill out the following fields in your .env file:
STRIPE_SECRET_KEY=your-stripe-secret-keySTRIPE_WEBHOOK_SECRET=your-stripe-webhook-secretSTRIPE_PRICE_ID_ONE_CREDIT=your-stripe-price-id-one-creditSTRIPE_PRICE_ID_THREE_CREDITS=your-stripe-price-id-three-creditSTRIPE_PRICE_ID_FIVE_CREDITS=your-stripe-price-id-five-credityour_api_keNEXT_PUBLIC_STRIPE_IS_ENABLED=false # set to true to enable Stripe payments
You need to do multiple things to get Stripe working:
- Get your Stripe API secret key from the Stripe Dashboard
- Create a Stripe Webhook that will point to your hosted URL. The webhook should be listening for the
checkout.session.completed. The webhook should point to your-hosted-url/stripe/subscription-webhook. - Create a Stripe Price for each credit package you want to offer.
- Create a Stripe Pricing Table and replace the script @/components/stripe/StripeTable.tsx with your own values. It should look like this:
<stripe-pricing-table
  pricing-table-id="your-stripe-pricing-table-id"
  publishable-key="your-stripe-publishable-key"
  client-reference-id={user.id}
  customer-email={user.email}
  ></stripe-pricing-table>
Here are the products you need to create to get Stripe working with our example:
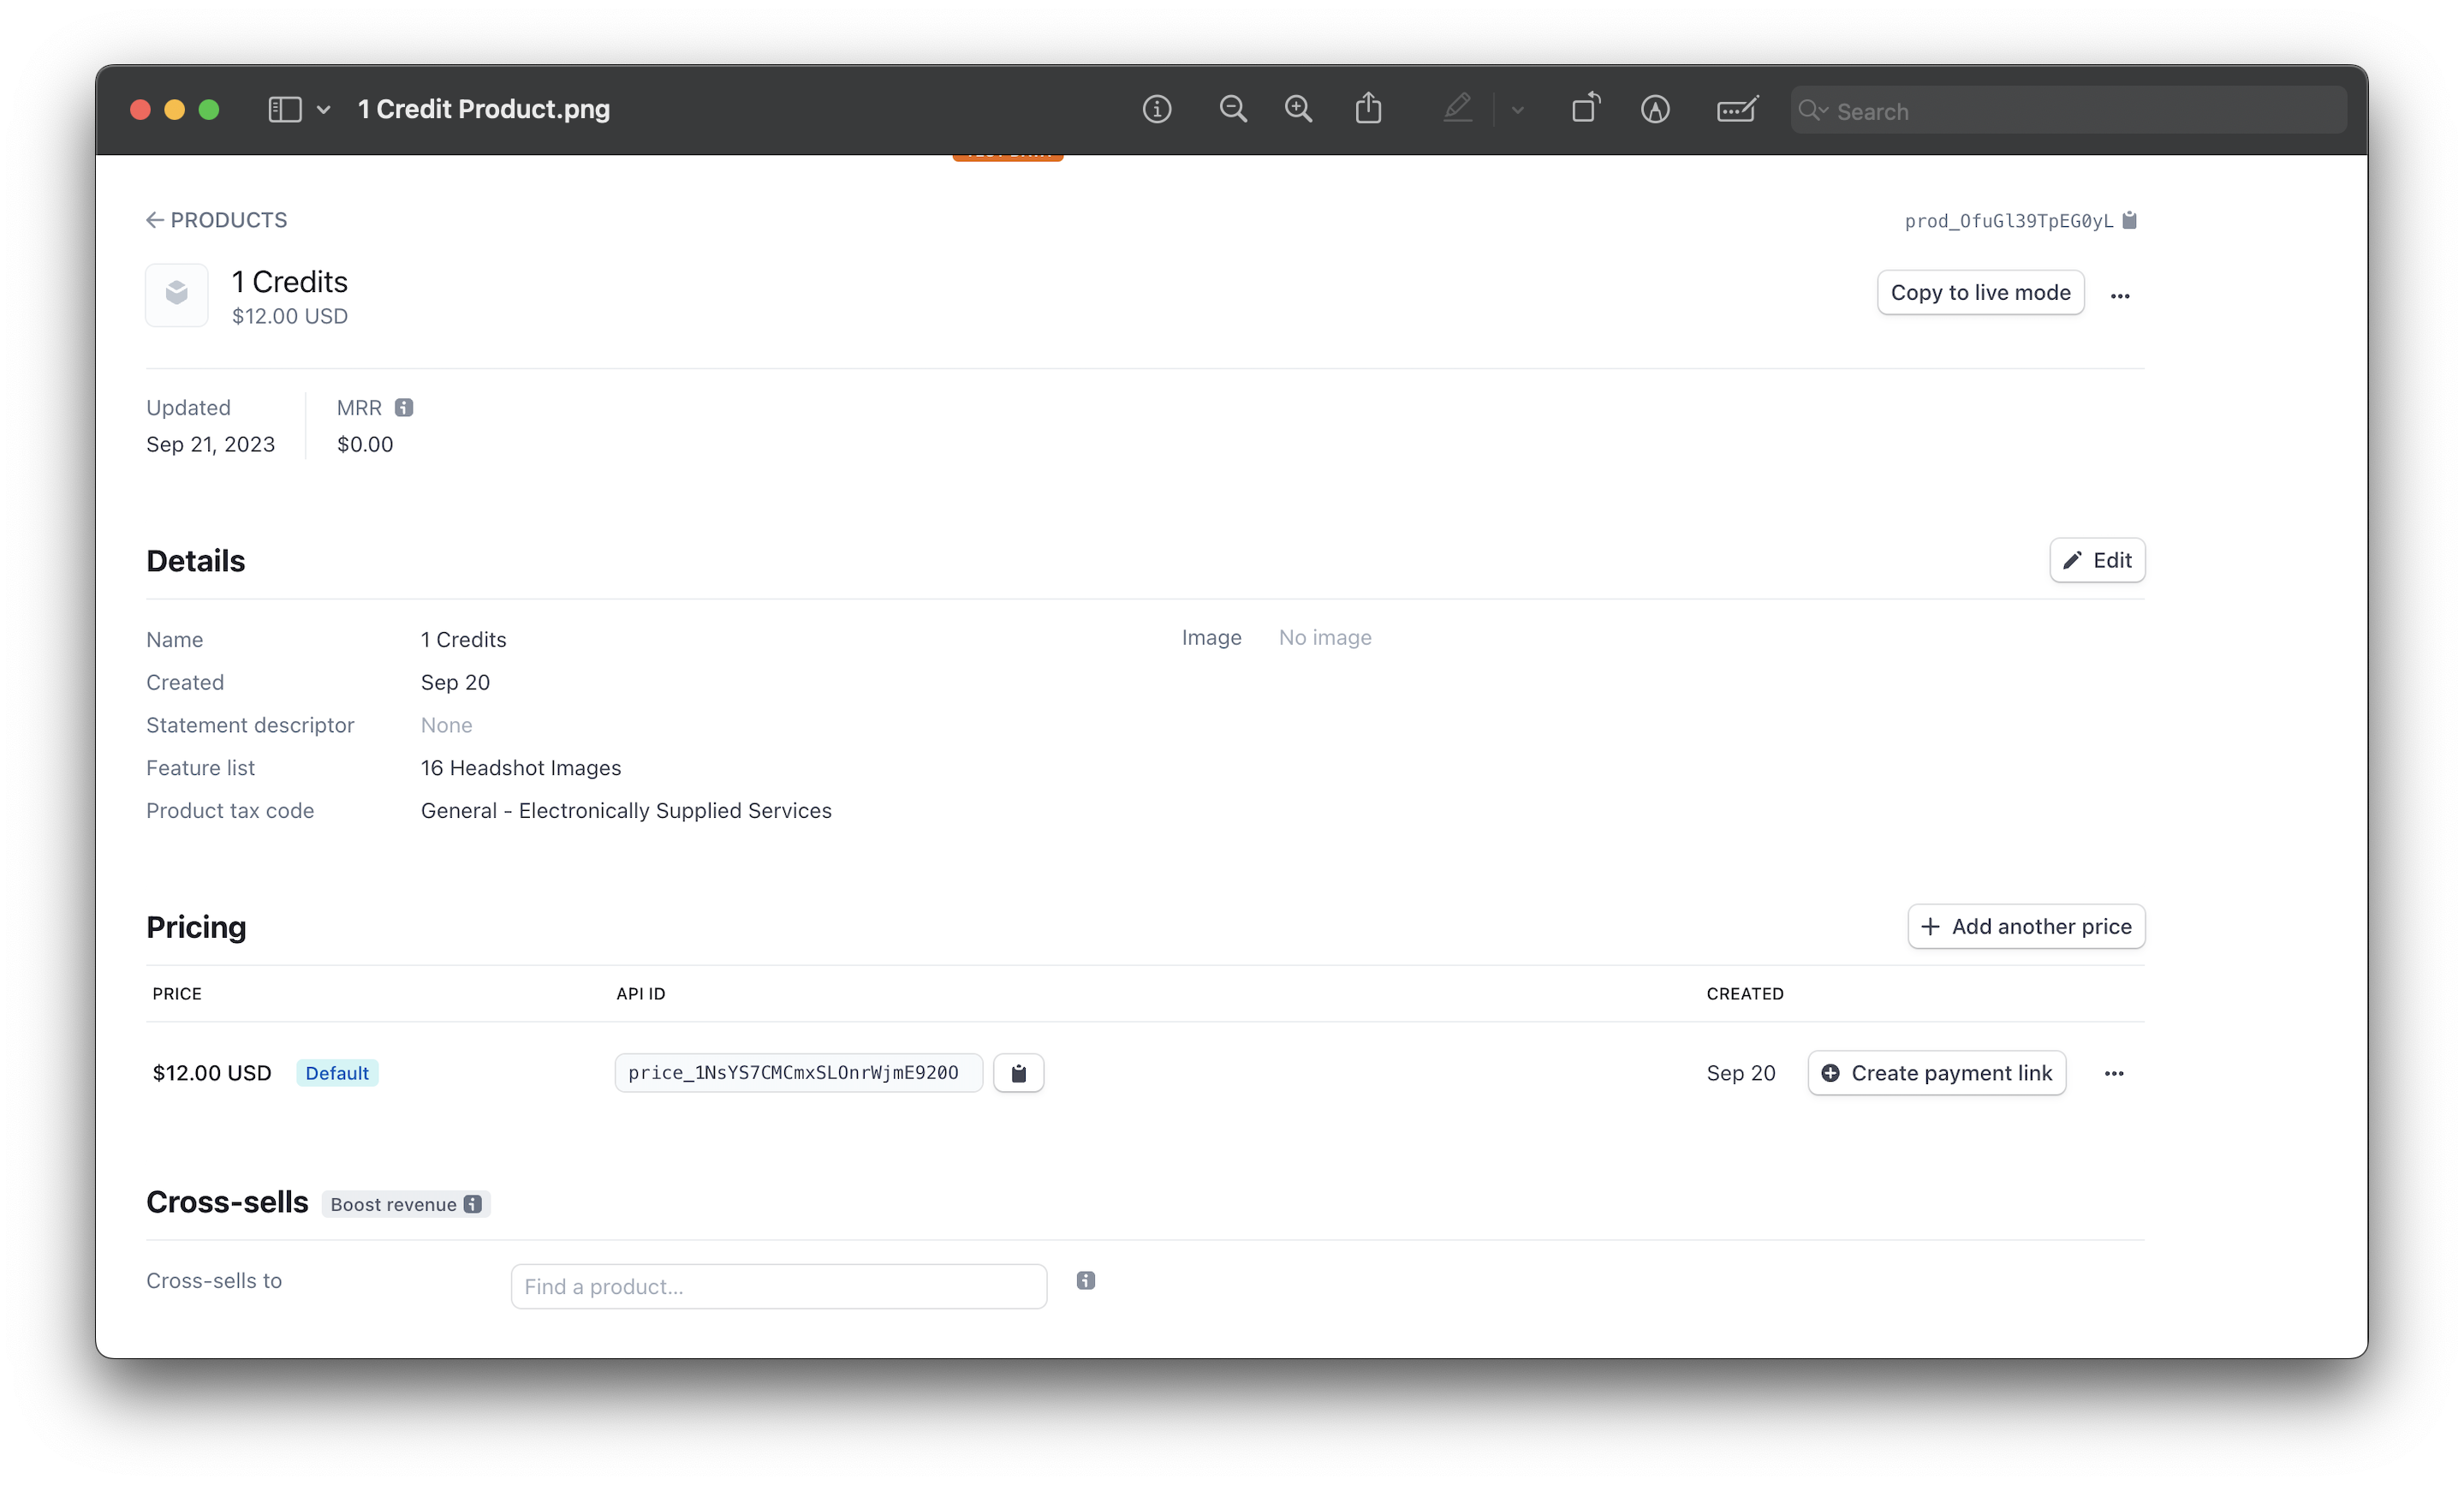
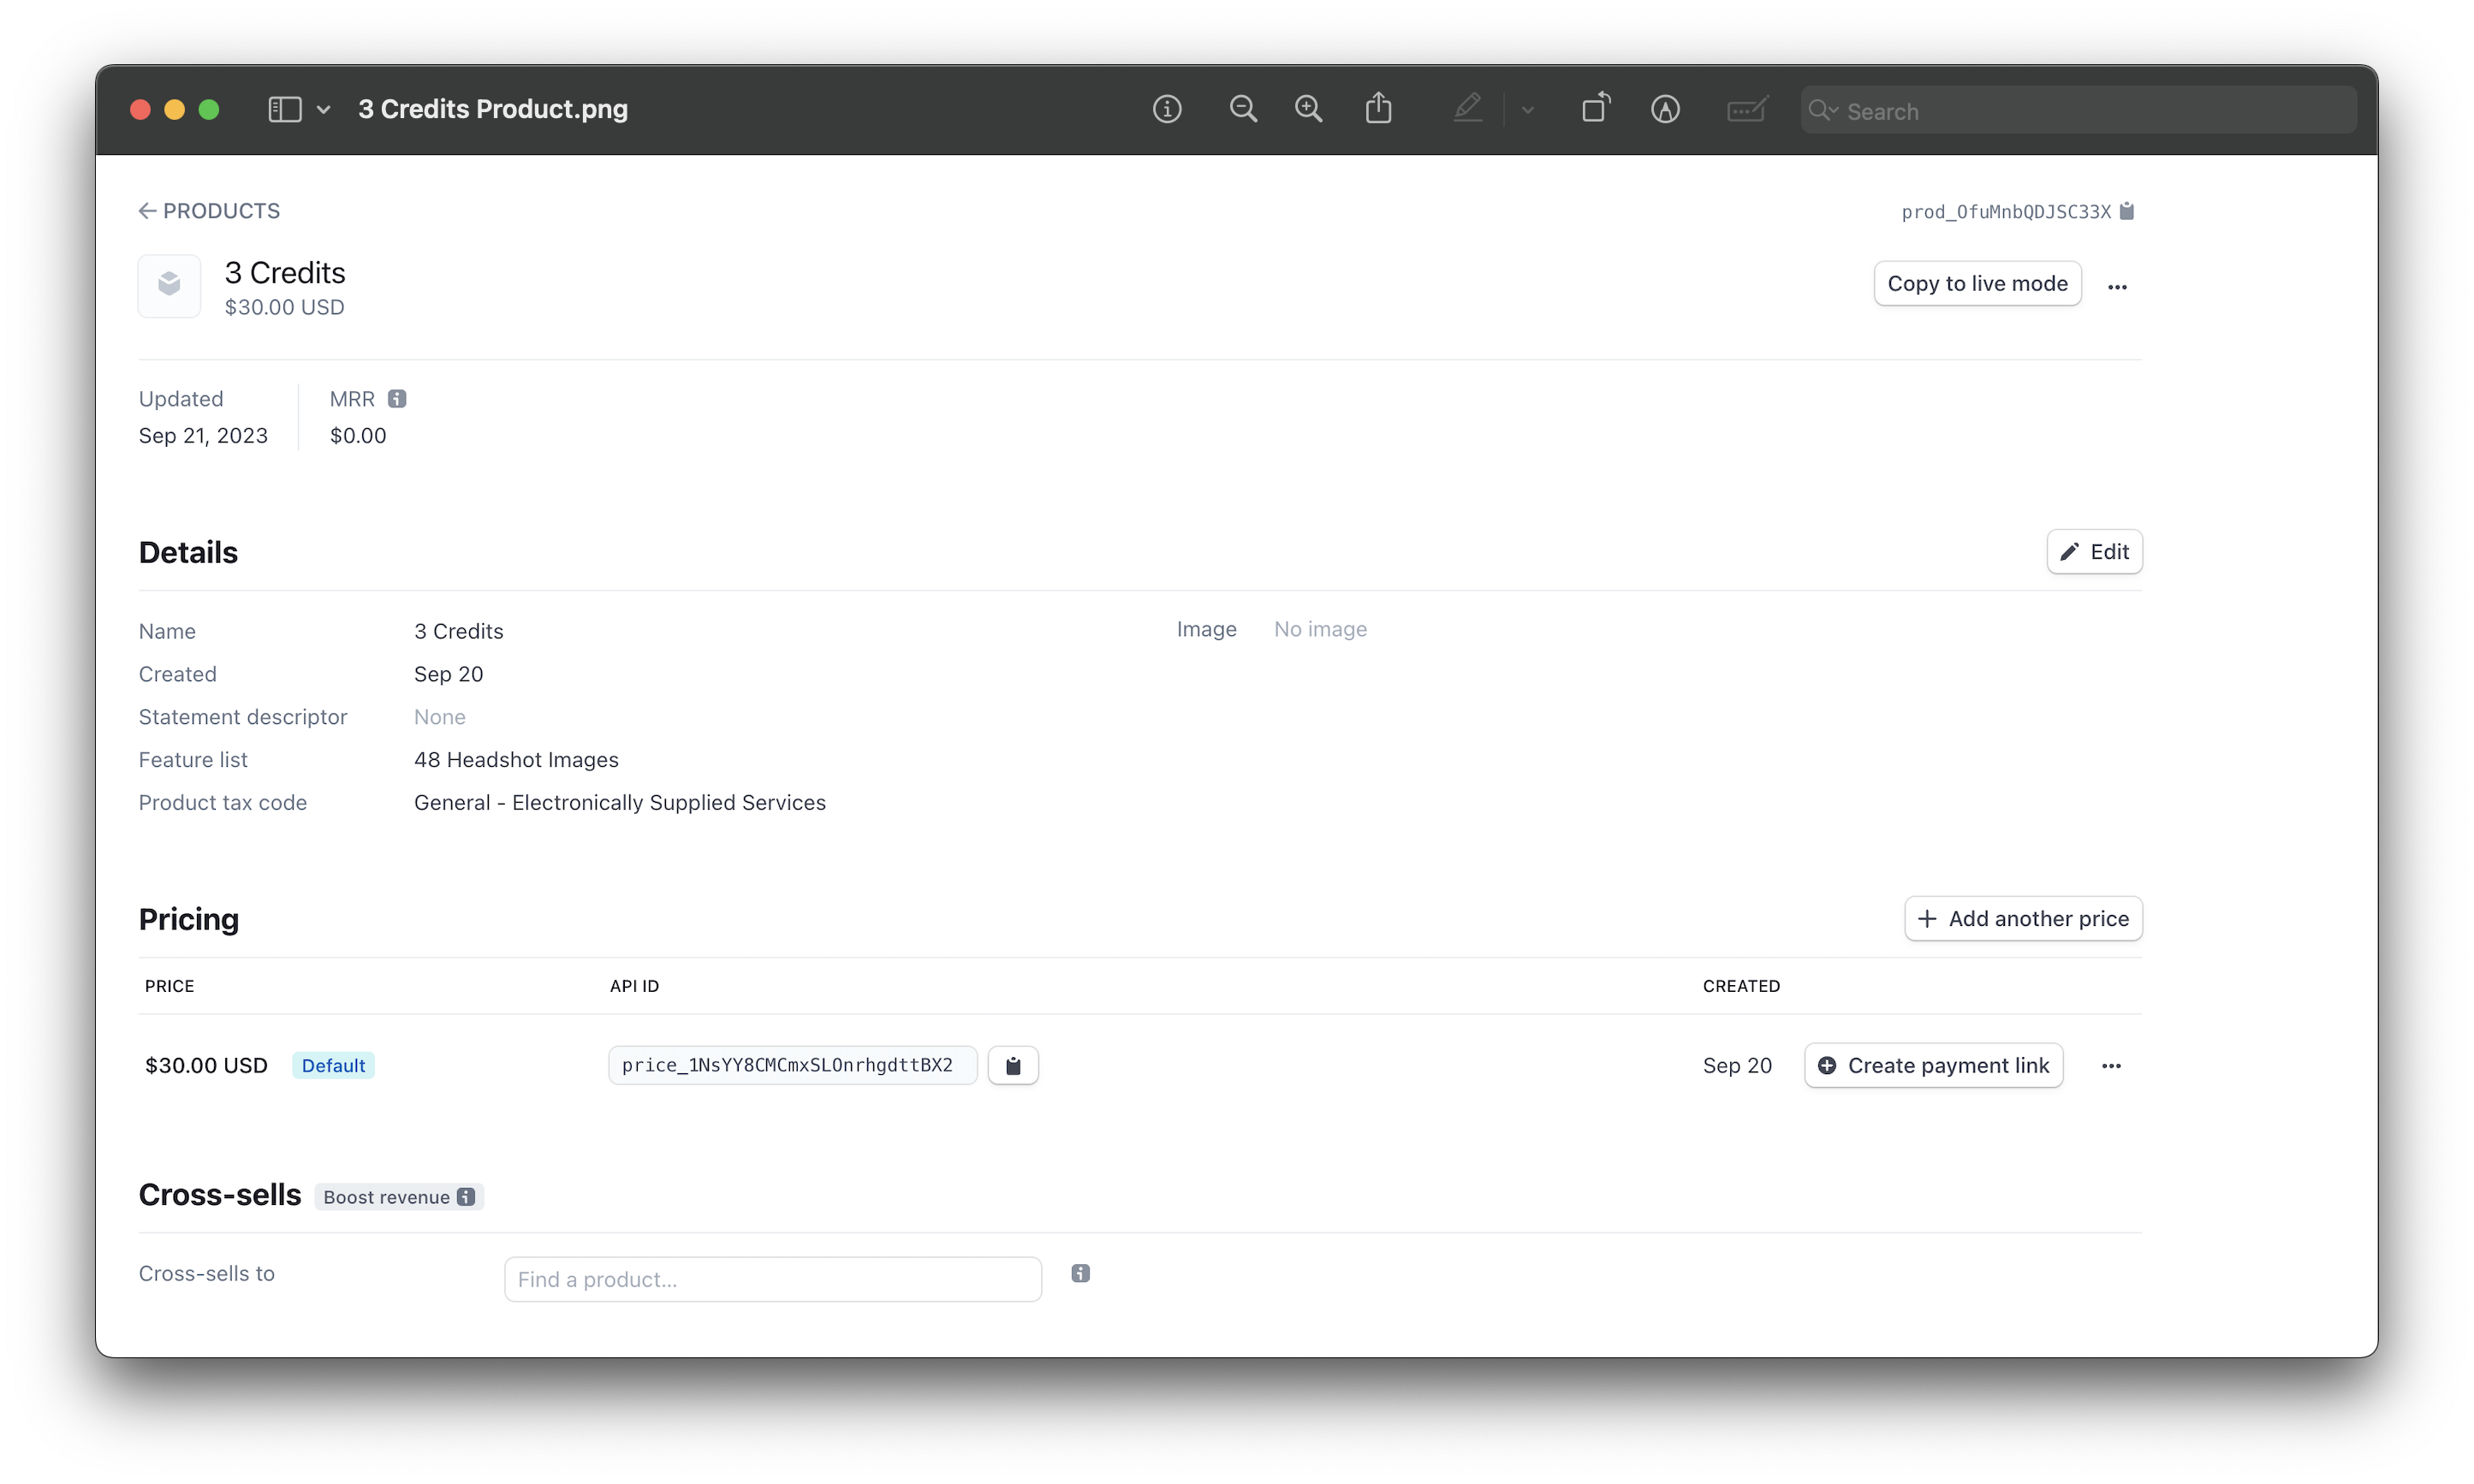
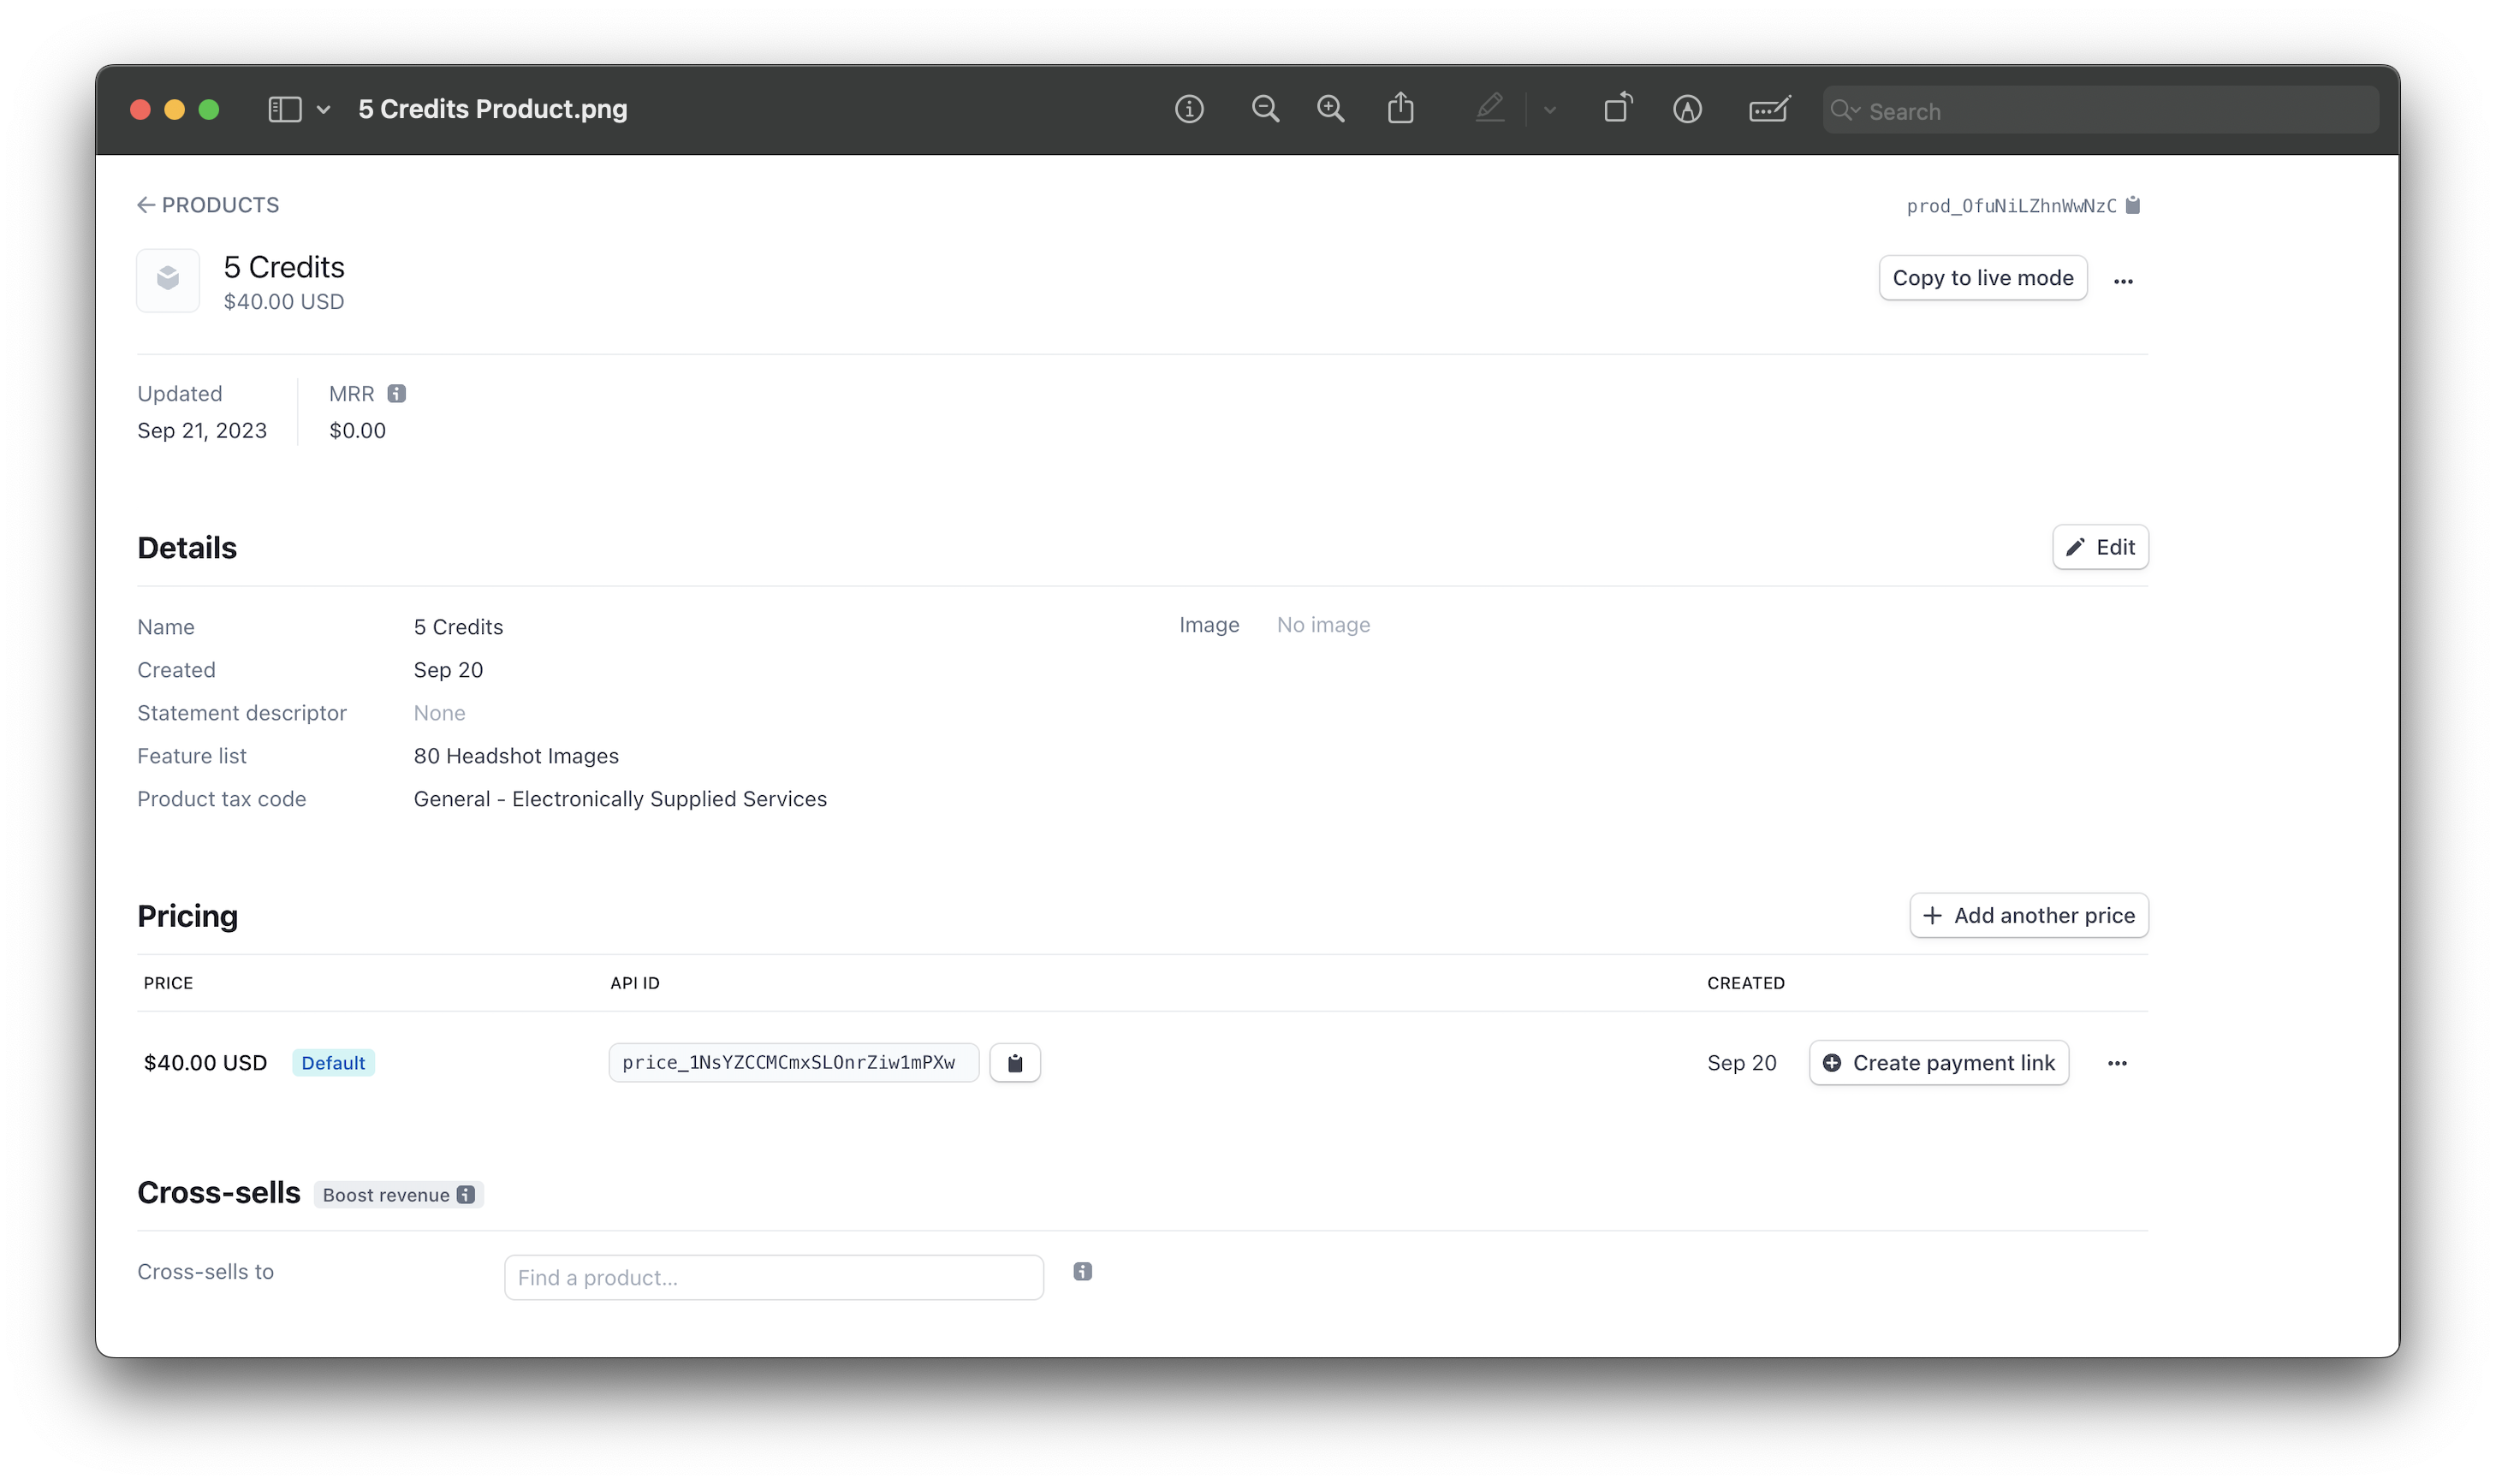
To create them go on the Stripe dashboard, search for Product Catalog and then click on the add product button on the top right of the screen. You will need to create 3 products, one for each credit package as shown in the images before. We set them to One time payments, but you can change that if you want to and you can set the price too. After creating the products make sure to update the variables in the .env [your-stripe-price-id-one-credit, your-stripe-price-id-three-credit, your-stripe-price-id-five-credit] with their respective price ids, each price id is found in the product page at the bottom.
6. Download Docker
Once you have downloaded and installed docker in your system, open it and execute the following in your project codebase to run your db server locally:
npx install supabase
npx supabase start
This will start a virtual container in your docker application and provide you with the following variables:
NEXT_PUBLIC_SUPABASE_URL=your-supabase-url
NEXT_PUBLIC_SUPABASE_ANON_KEY=your-supabase-anon-key
SUPABASE_SERVICE_ROLE_KEY=your-supabase-service-role-key
SUPABASE_ANON_KEY=your-supabase-anon-key (again)
SUPABASE_URL=our-supabase-url (again)
7. Start the development server:
Now you need to run the development server at the same time, do not close the last server and run your dev server using the following:
For npm:
npm run dev
For yarn:
yarn dev
8. Visit http://localhost:3000 in your browser to see the running app.
9. Authentication
Once your app is running, you can sign in using your email address. This is a local environment for now, so you need to visit your docker container terminal, the place where its server is running and get the Inbucket URL. Go to that URL after you have signed in using your email address. You will recieve a link on Inbucket verifying your email address. Go to the monitor tab, click on the email you recieved using Supabase magic link and click on login. Now you will be redirected to your logged in page.
10. Stopping running container
If you want to stop the running container, you can use the following:
npx supabase stop framecast-ai
